

1
Add Pull Zone
In the bunny.net dashboard, select Add Pull Zone from the + Add sidebar launcher: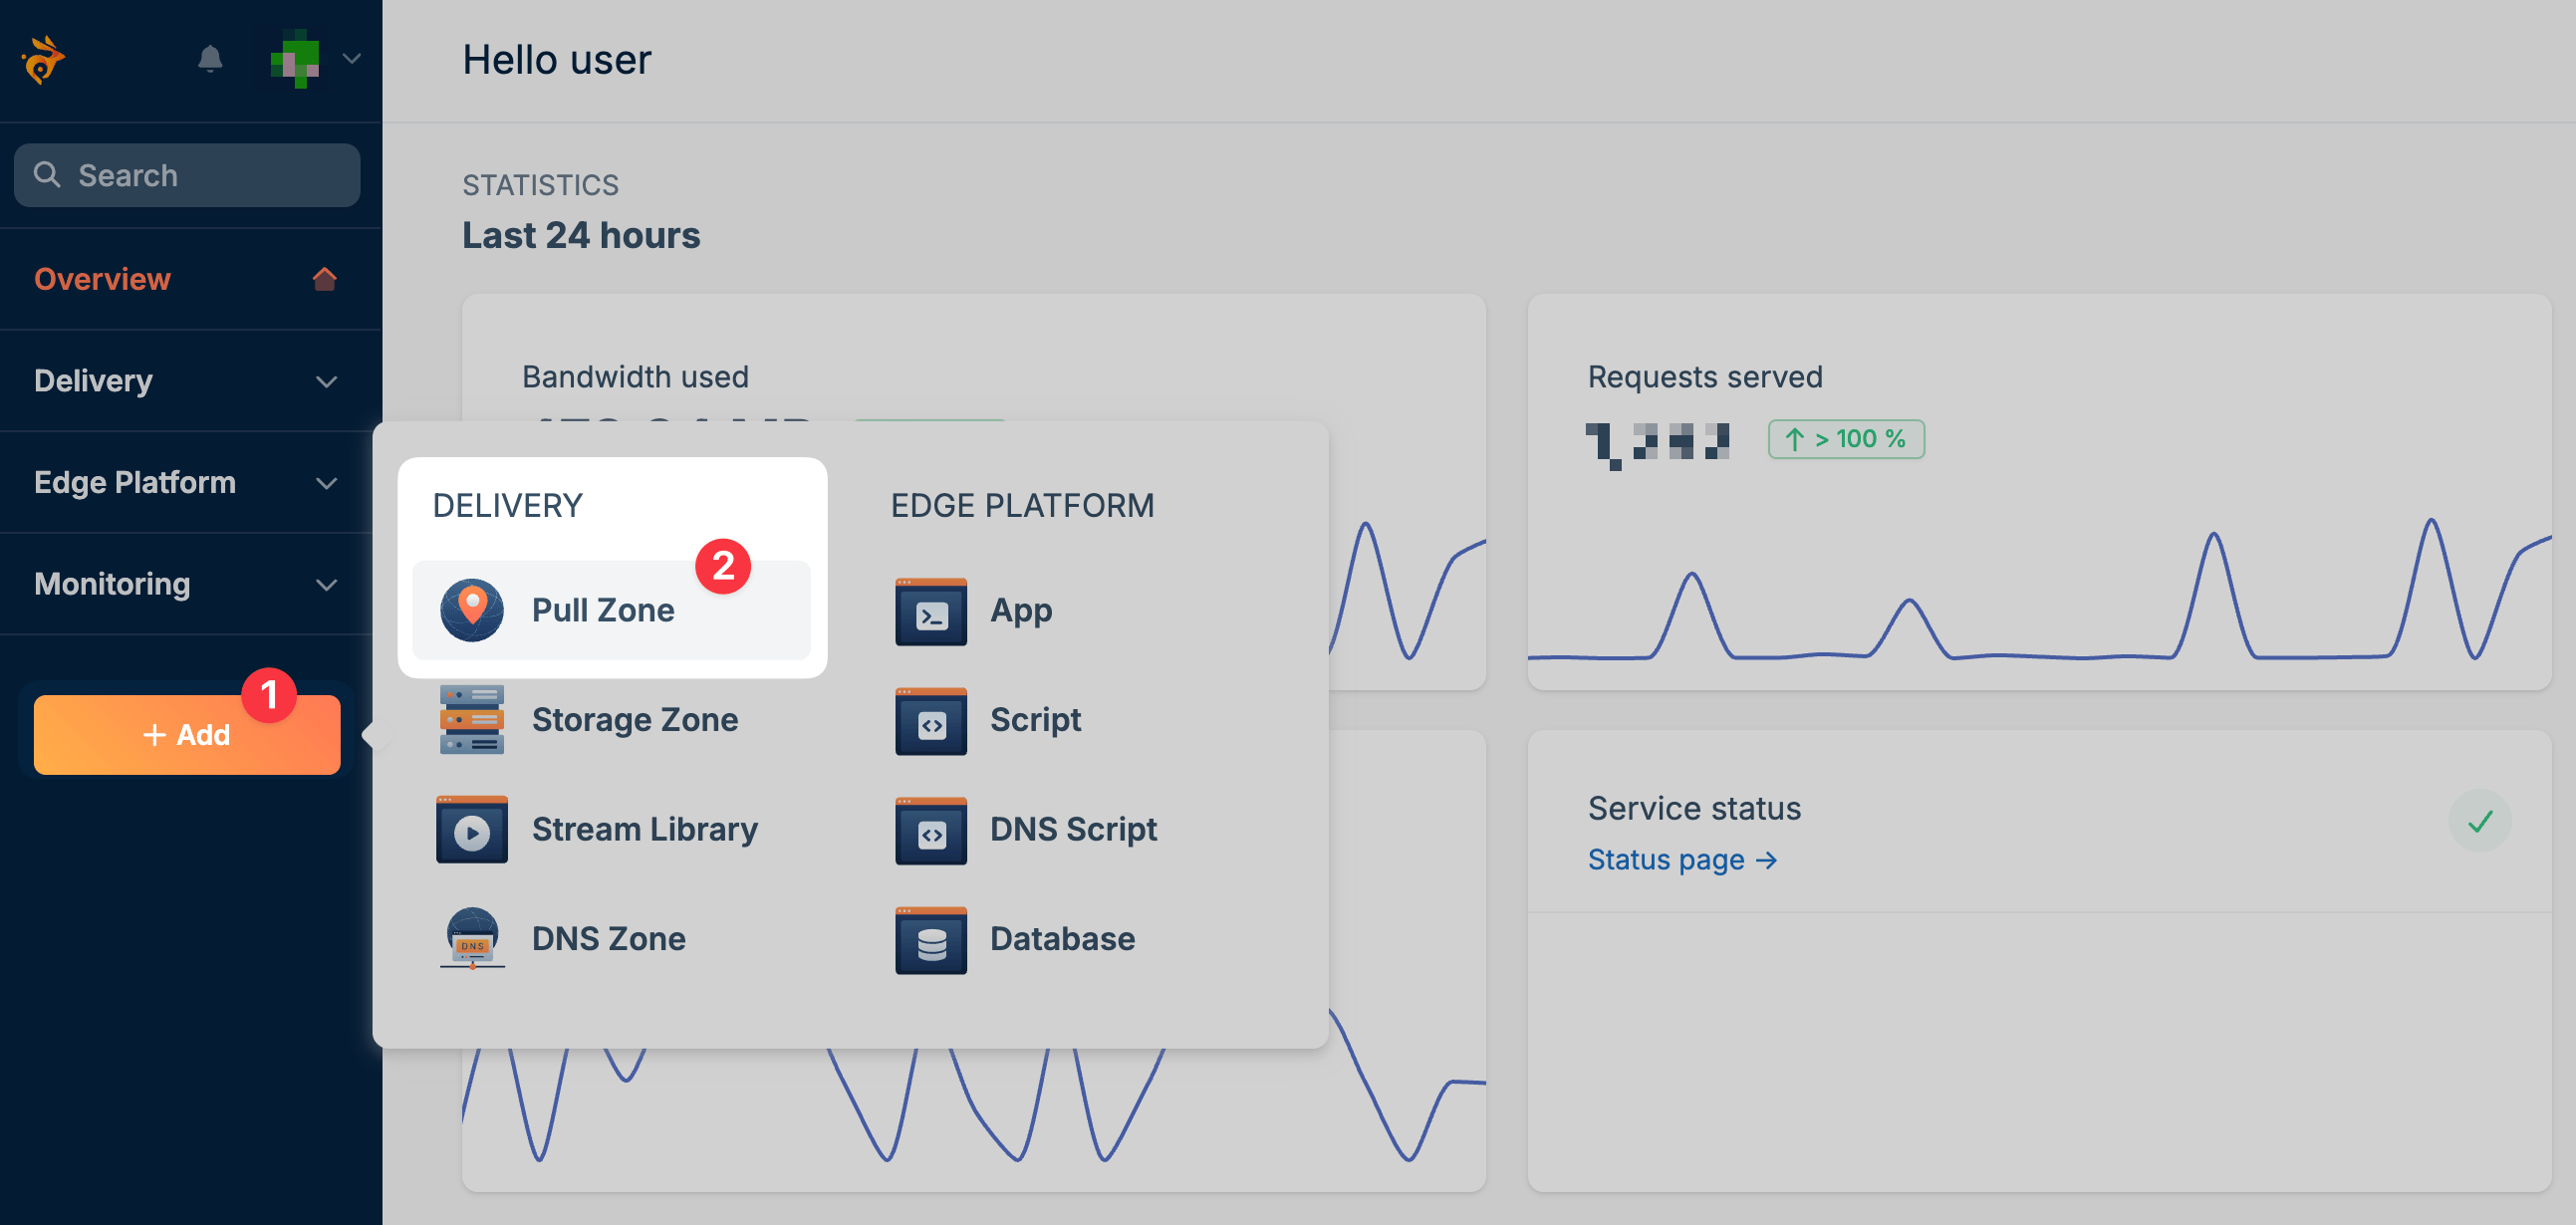
2
Enter Pull Zone name
Enter a name for your Pull Zone. This becomes your CDN hostname — for example, naming it 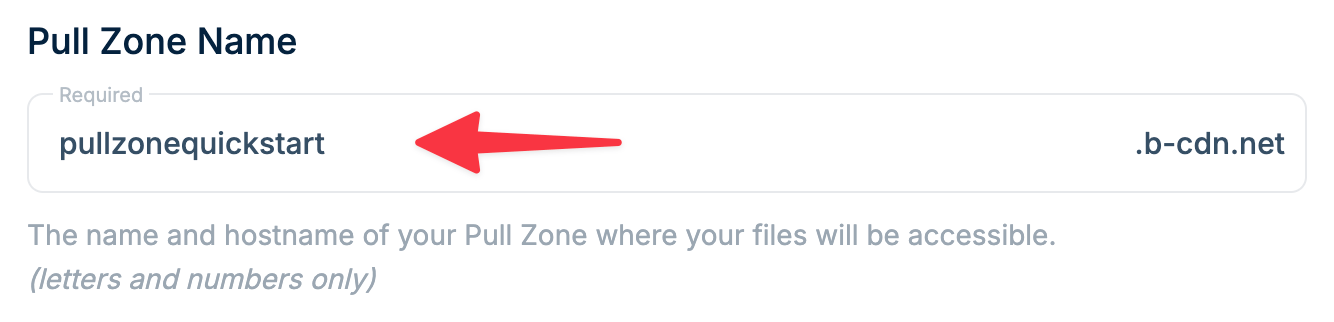
mysite creates mysite.b-cdn.net.The name can only contain letters and numbers.cdn.mysite.com), this default hostname won’t be visible to your users.3
Select origin type
Choose where bunny.net fetches your original content from:
- Origin URL
- Storage Zone
Enter your website URL (e.g., 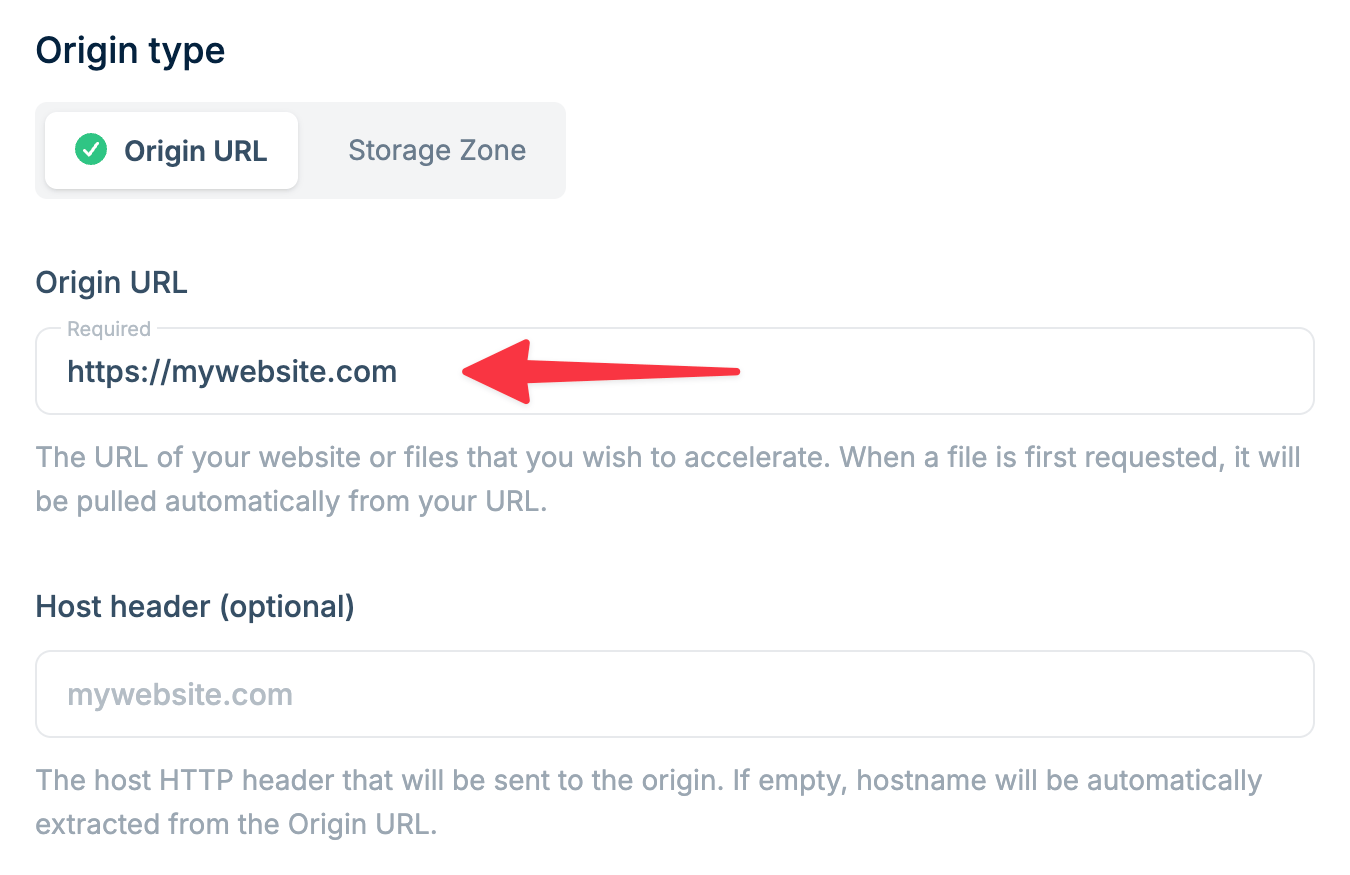
https://mywebsite.com). The CDN fetches content directly from your existing server when a file is first requested.Host header (optional): The host HTTP header sent to the origin. If left empty, the hostname is automatically extracted from your Origin URL. Only change this if your origin expects a different hostname, such as when using an IP address as the origin.
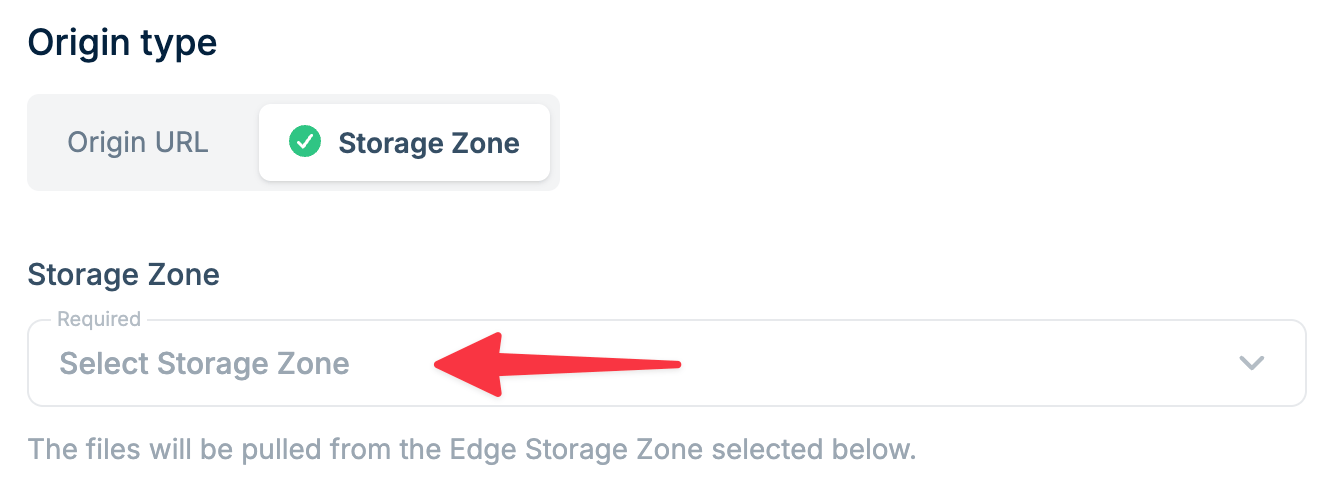
4
Choose tier
Select a pricing tier based on your use case: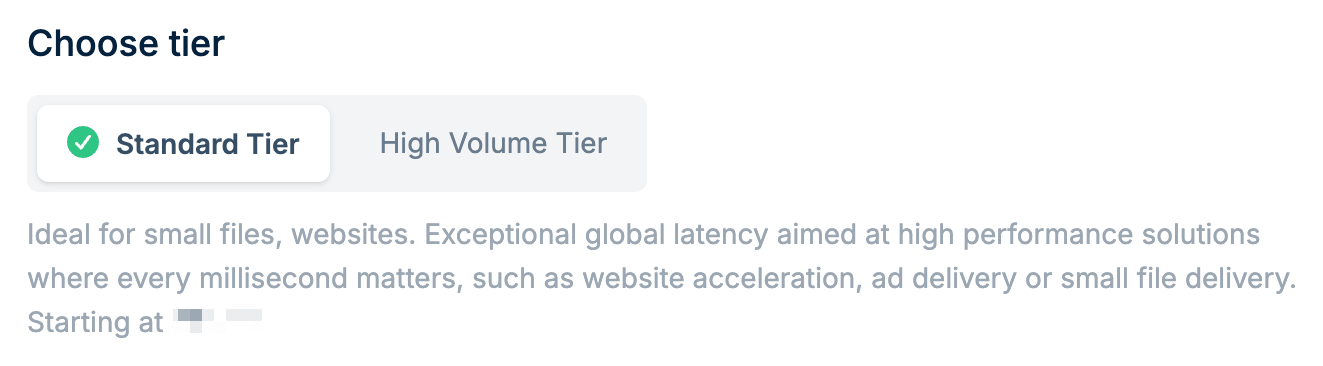
5
Select pricing zones
Choose the geographic regions where you want your content served from: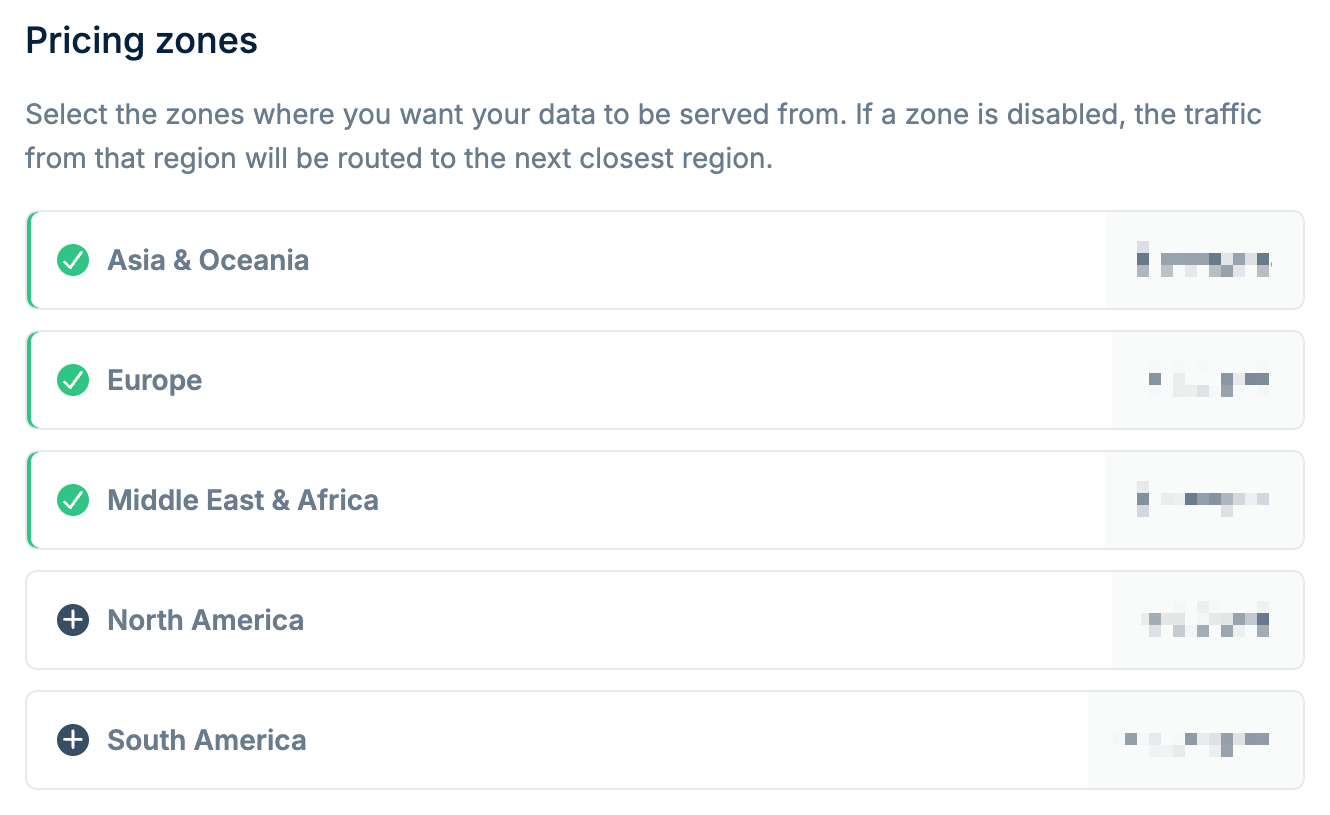
Disabling a region doesn’t block visitors from that area — their requests are
automatically routed to the nearest enabled region.
6
Complete creation
Click Add Pull Zone to finish. You’ll see setup instructions and integration options for platforms like WordPress.
7
Next steps
Custom Hostname
Use your own domain instead of b-cdn.net.
Integration Guides
Connect with WordPress, CMS platforms, and cloud storage.
Edge Rules
Customize request handling at the edge.
Security
Set up hotlink protection and token authentication.